Thursday, November 7, 2024
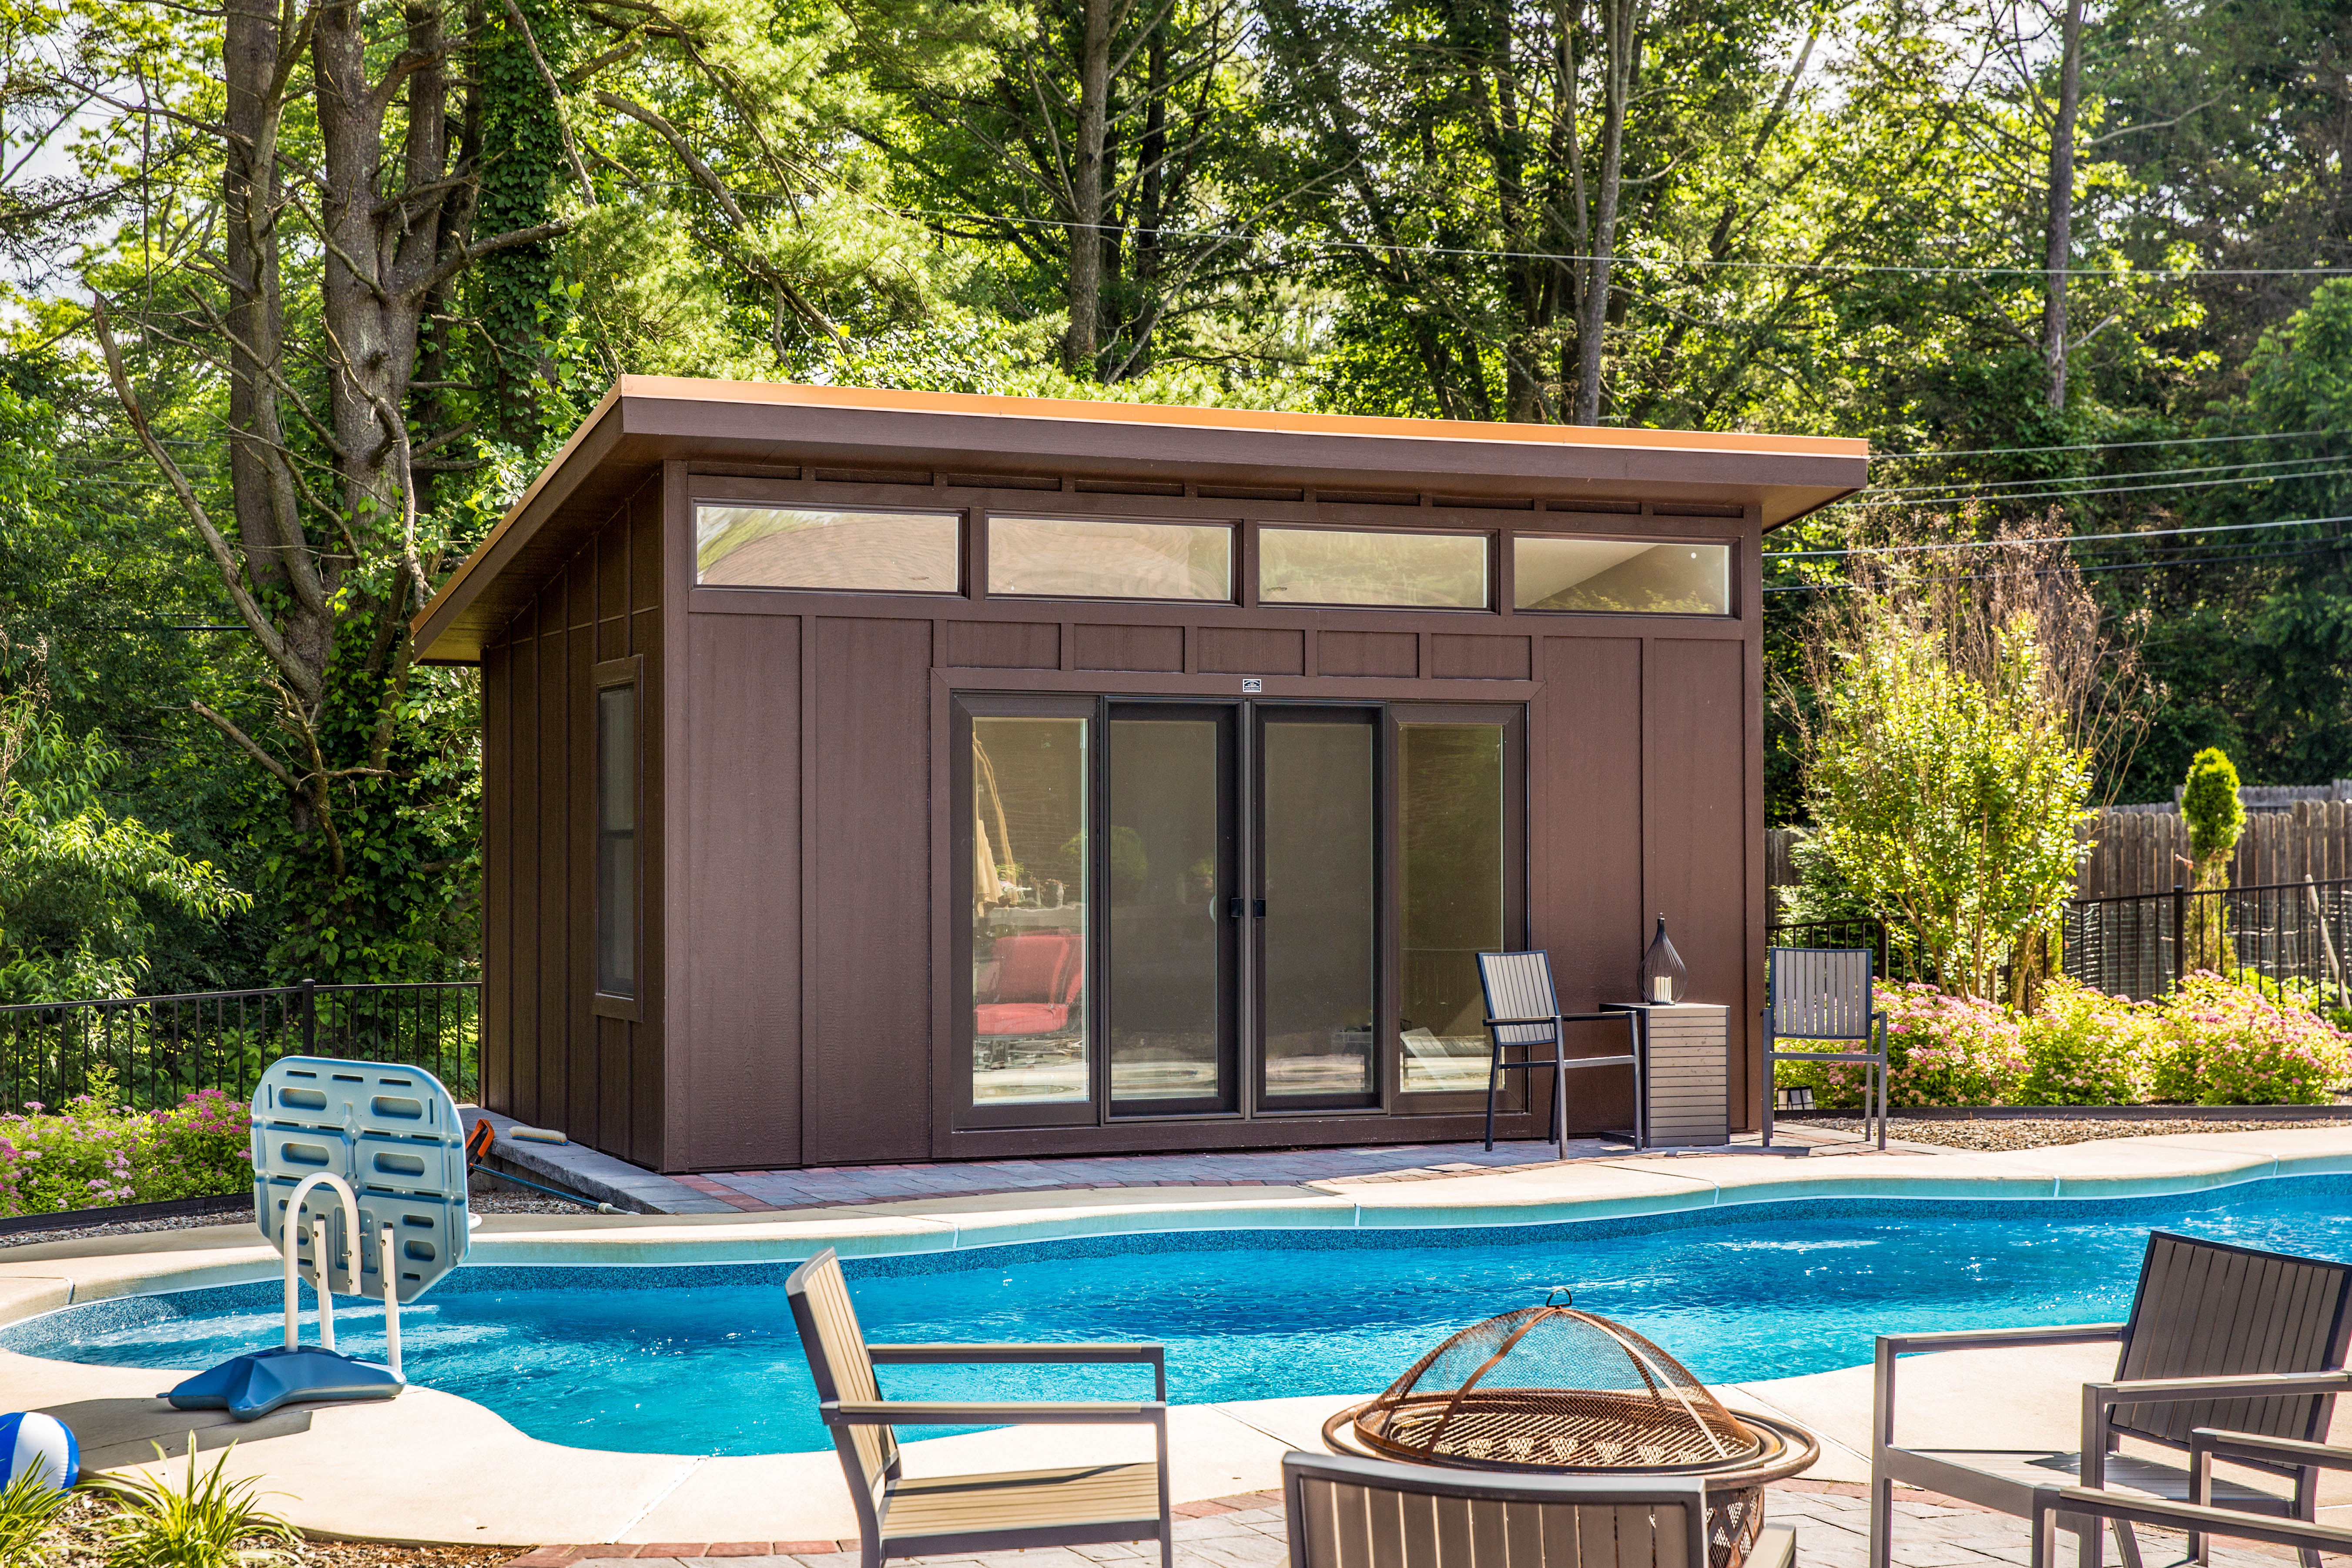
Building a garden shed with a sloped roof: diy plans

Alright, you've decided to build your own garden shed, and you're going for a classic sloped roof, huh? Good choice! It adds a touch of charm and keeps the rain off your precious tools. This guide will walk you through the process step-by-step, from choosing the right materials to nailing down that final shingle.
Planning is Key
Before you start swinging the hammer, let's get organized. Think about:
Size: How much stuff needs to fit in your shed? Measure twice, cut once, you know the drill.
Location: Choose a spot with good drainage and easy access. Consider sunlight and wind too, especially if you'll be using it as a workshop.
Material: Wood, metal, or a combination? It's up to you! Wood is classic and relatively easy to work with. Metal is durable and low maintenance.
Roof style: A simple gable roof is easiest for beginners, while a more complex hip roof offers extra strength and weather resistance.
Budget: Don't forget about permits, tools, and landscaping afterwards!
Materials You'll Need
Here's a basic list, but you might need more depending on your shed's size and complexity:
Pressure-treated lumber: This is a must for the foundation, floor joists, and any parts that will be in contact with the ground.
Lumber for framing: Choose sturdy wood like spruce or fir for the walls, roof rafters, and siding.
Plywood or OSB: For the roof sheathing and walls.
Roofing felt: This acts as a barrier between the wood and shingles.
Roofing shingles: Asphalt shingles are a common and affordable choice.
Doors and windows: Choose the size and style you like!
Hardware: Nails, screws, brackets, hinges, door handles… you get the picture.
Fasteners: Use galvanized nails or screws for durability.
Paint or stain: To protect your wood and add color.
Let's Get Started!
Step 1: Prepare the Foundation
Level the ground: Use a level to ensure your foundation is perfectly flat.
Lay down gravel or sand: This helps with drainage and stability.
Build the foundation: This could be concrete blocks, a wooden frame, or even just a solid layer of pressure-treated lumber. Make sure it's strong enough to support the weight of your shed.
Step 2: Construct the Floor
Lay down floor joists: These are the horizontal beams that support the floorboards. Space them according to the size of your shed and the load they will carry.
Attach the subfloor: Use plywood or OSB to create a smooth, sturdy surface for your floor.
Install the floorboards: This is the final layer of your floor, and can be made of plywood, planks, or even tile depending on your preference.
Step 3: Build the Walls
Frame the walls: Use lumber to create the rectangular frames for your walls. Make sure they are plumb and square.
Add bracing: This will provide extra stability, especially if you live in a windy area.
Attach the wall sheathing: Cover the walls with plywood or OSB for structural support and insulation.
Step 4: The Roof - Time for a Slope
Measure and cut the rafters: These are the angled beams that form the shape of your roof. You'll need to carefully measure the length and angle of each rafter for a perfect slope.
Install the rafter supports: These are smaller beams that support the rafters from the walls.
Attach the rafters to the supports: Make sure they are firmly secured and spaced correctly.
Add sheathing to the roof: This will be plywood or OSB, which creates a solid base for the shingles.
Step 5: Shingling Time!
Lay down roofing felt: This waterproof layer goes underneath the shingles.
Install the shingles: Start from the bottom and work your way up, overlapping the shingles to ensure watertightness.
Finish the roof edges: Add flashing around the edges of the roof, chimneys, and vents to prevent leaks.
Step 6: Add the Finishing Touches
Install the siding: This can be wood, metal, or vinyl. Use trim boards to cover any gaps between the siding and the foundation.
Install doors and windows: Make sure they fit snugly and are properly secured.
Paint or stain: Give your shed a fresh coat of paint or stain to protect the wood and add some personality.
Safety First!
Wear safety glasses and gloves: Protect your eyes and hands from flying debris.
Use a ladder safely: Always have someone spot you when working on a ladder, and don't overreach.
Follow electrical safety precautions: If you're using power tools, be sure to use them properly and unplug them when not in use.
Tips from a DIY Pro:
Measure twice, cut once: It's a classic saying for a reason! Take your time with measurements to avoid mistakes.
Use the right tools: Having the proper tools will make the job easier and safer.
Plan your work flow: This will help you stay organized and avoid unnecessary steps.
Don't be afraid to ask for help: If you're unsure about something, ask a friend or neighbor who has experience.
Enjoy the process: Building your own garden shed is a rewarding project!
That's it! You've got this!
Building a garden shed with a sloped roof is a great DIY project for anyone with some basic carpentry skills. Remember, it's important to take your time, plan carefully, and prioritize safety. You'll be surprised at how much you can accomplish with a little effort and a lot of enthusiasm!
No comments:
Post a Comment